Friday, August 26, 2011

Yarn Swifty Gal this Fee-Fi(ber)-F.O. Friday

Watching the paint dry on the parts
of my hand-made yarn swift
So, while I was taking my little technological break, I accomplished something I've wanted to since the beginning of the year - I made my own yarn swift.

Now this might not seem like such a grand and glorious accomplishment - until you realize I made it without screws or traditional carpenter's tools of any kind - just craft-store materials, glue, paint, and my own two hands. It looks something like this:

The design for this awesome little
low-tech yarnie machine can be
found here. I love the Internet. 


Want to see it in action? Get a load of it as I wind Andrea's handspun on it:


Isn't the handspun just gorgeous? Can you believe that's the natural color of Midnight Magic? I might need to go and steal that animal from the barn.

Now, you might be wondering why I'm winding Andrea's handspun. Well, here's what she sent me in order to craft a shawl for her:

This is a whole lotta alpaca love
 I'm making her a Critron; I've already started it, and it's going to be some kind of siren song. It might need it's own zip code.

I hope you are as in love with your fiber as I am with mine at the moment. Definitely check out everybody's fiber art from Andrea's blog - and I'd love to hear what you would name Andrea's shawl. It needs a super name, so I'm all ears.

Tuesday, August 23, 2011

To 40 Revolutionary Years

The kitchen in my self-renovated apartment during my undergrad
days. I didn't quite realize at the time the magnitude of the wall art
bought for a yard sale song.
There's been much online chatter recently about a certain Huff Post blogger's feminist views, at least in my online reading circle.

I thought it appropriate, therefore, to pay homage to that bad-ass foodie rebel and artist, Alice Waters. Her inspired creation, Chez Panisse, is celebrating 40 years of ground-breaking food vision this weekend. For everyone in the U.S. (myself included) who enjoys the bounty of local farmers' markets, has at least a passing understanding of the concept of buying local, in-season produce, meat and fish, and who celebrates the harvest bounty each year, we really have Alice to thank.

What I didn't realize until I listened to Alice explain it herself, is the ground-breaking way she treats her employees at Chez Panisse.  I suppose it should have come as no surprise that her treatment of the humans with which she comes into contact would be as humane, as well ... as just so darn right as her approach to food.   

Thanks Alice, for taking a vision, a stove, and the local farmers you nurtured, and giving everyone (including The White House) inspiration to do better when it comes to the food we eat and the people who produce it.

Now that's a bad-ass feminist by anyone's definition.

Friday, August 19, 2011

Thrilled to be Back!

Well, some technical issues prevented me from joining in on all the fibery fun these past two weeks. Now that the technical glitches are (mostly) cleared up, I’m excited to be back amongst the Fiber Art living.

As some of you may have read over at Woollove functional fiber art, I sent Heather her swap gifts last week. (She sent me an awesome felted messenger bag which you can see here.) Of course I needed to send her some most excellent gifts, so I started with this shawl:

Made from a wonderful Syl Caron pattern, I got the opportunity to work with some of Andrea’s wonderful suri alpaca and soysilk fiber (you know, that Wonder Why Gal and her super cool alpacas!). This commercially-spun fiber is so soft yet sproingy. I loved the stitch texture and drape of this shawl so much that I didn’t even block it (a first for blocking magic-lover moi). I added some size 3 Japanese seed beads around the final edging row, and their aptly named colorway – Ceylon Cream Soda – was just the right touch, if I do say so myself. Chopstick shawl pin was optional, but included to complete the shawl package.

Additionally, I also knew I wanted to paint something for Heather. Given her love of neutral palettes, it was a fun challenge for me to create something with that particular limitation. With black, white, gray and some greeny-blues, here is the final product:


Ok, not quite the best photo, but ...

This 11 x 14 sized mixed media canvas allowed me to utilize several of my artistic loves – painting, mixed media, and crochet. In fact, the hints of flowers on the upper portion of the canvas (next to and underneath the tulip) were created using a few of my personally designed cotton thread crochet motifs that were pressed into inkpads and then stamped onto the canvas. They created a very delicate, almost ethereal pattern that was perfect for this work.

See the crocheted motifs stamped on
the side and bottom of the tulip.

Can you tell I was just a little excited about giving these gifts to Heather?

Can you also tell that I’m thrilled to be back with all of you this Friday?

Definitely check back with Andrea's blog, and see what everyone else is so excited about this Fiber Arts Friday! 

Tuesday, August 2, 2011

Tote Recipe

Since several readers had questions (as well as very nice comments – thank you!) regarding my Building Blocks Tote, I kindly provide below how I got from here to there:

Ingredients:

700 – 800  yards of worsted weight yarn (I used Cascade 220 and Cascade 220 Quatro)
Size 7 needles (or size appropriate to get gauge desired)
Size G (4.25 mm) crochet hook
1 yard fabric of choice
Tapestry needle
Sewing needle and thread
Buttons or other embellishments of choice (I used shank buttons of varying widths, plus one 1” shank button for closure)

Directions:

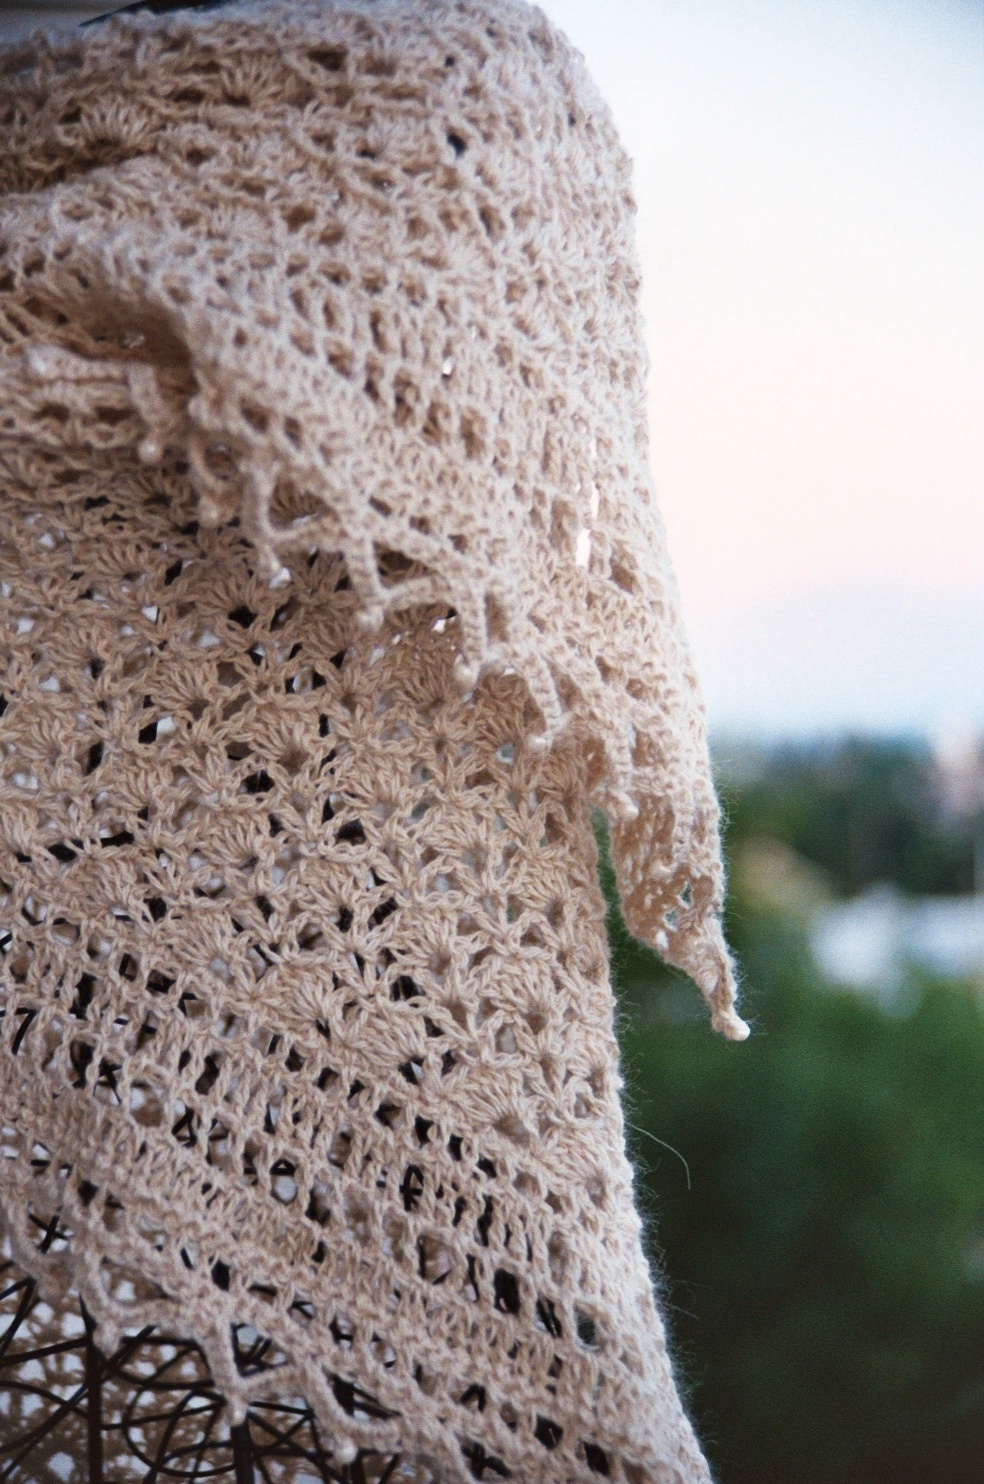
Determine which blocks you would like to make for your tote. I used 4x4 Pulled Rib (p. 19) and Fairy Leaves (p. 102) for the main body, and an altered version of French Braid (p. 181) for the gusset.

Knit the main tote body blocks first. When completed, block each to a 10 x 10 measurement. (Note that my Fairy Leaves were kept in pieces and blocked to 10 x 5.)  It is important to block your tote body’s blocks first, because there will be some shrink-back once off the blocking pins, and the final measurement is key to making an appropriately sized gusset.

Next, determine the placement of your blocks. After some deliberation, mine went something like this: 


Knit the gusset. I altered the French Braid block as follows: cast on 30 stitches and work in braid pattern for approximately 45 inches (or length required to fit your blocks), then bind off. Block gusset.

To determine the length needed for gusset, measure main body blocks once, post-blocked, they are placed in desired position on the two sides and bottom. Add these measurements. The sum of these measurements is the required length you should knit your gusset.

Post-knitting Finishing

Sew blocks together to form the front and back pieces of your tote’s main body. I utilized the slip stitch crochet method with a size G hook (insert hook into stitch of each block, pull up a loop and through loop on hook). Once together, sew any embellishments desired to each side of bag. Position button on front of bag to be used for closing. Sew in place

With right sides of front and back pieces as well as right side of gusset facing each other inward, pin front and back pieces to gusset. Sew main tote body pieces to gusset.


Create handles for the bag. I created two crochet handles, each 1” x 25”, using single crochet and post double crochet stitches. Block each crochet handle.

Cut a piece of fabric 44” x 25”. Fold in half with right sides facing, so you have a 22” x 25” rectangle. Allowing a ½” seam on each side, sew each short side seam. Turn your fabric right side out. You will now have a rectangle with three closed sides and one open side (the top). At each corner of the lower edges of the lining, sew a seam 2” from each corner to form a triangle. Then tack the corners of each triangle to the bottom of the lining. Turn the top edge of lining over ½”.


With wrong side of lining out, fit into bag, with right side of bag out. Whip stitch top of lining to top of bag, just inside top of bag pieces.

Pin handles to bag in desired position. Seam to bag.

With crochet hook, determine the middle top on the back of the bag. Work 8 slip stitches in the middle of the back of the top of the bag. Using post double crochet stitches, work until 4” in length. On next row, create a button hole over the middle 4 stitches. Work two more rows of post double crochet stitches. Fasten off.


And voila! A tote is born. Remember, these are my design choices. You should feel free to look at this recipe and make any substitutions that fit your fancy. Also keep in mind that these directions assume certain knowledge of knit and crochet on the part of the reader. If you have any questions, of course I'll do my best to answer them. 

I hope you enjoy creating and using your tote!